General principle of installation - MetaDeck watertight profile
La securing the watertight profile MetaDeck is extremely simple.
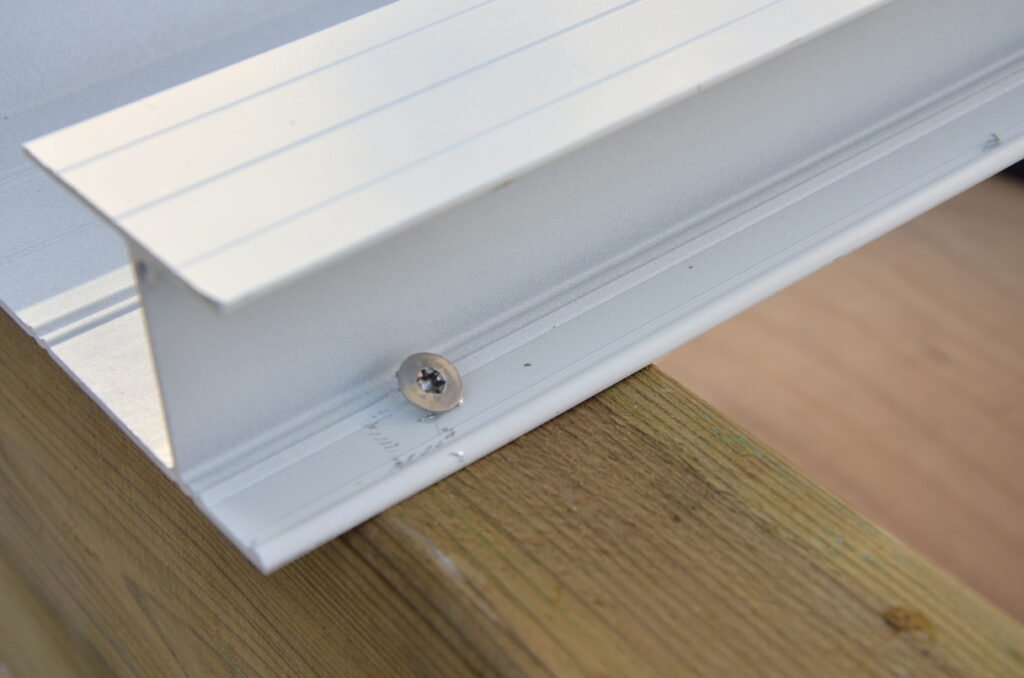
A screw must be fitted every time the MetaDeck profile passes over a joist.
For example, on a terrace 3.50 m deep and 6 m wide (i.e. 21 m2), we will have 40 profiles, laid on 4 supports (4 joists). That's a total of 160 screws.
The installation time for these 21 m2, on site, working at height, is a day for 2 people.

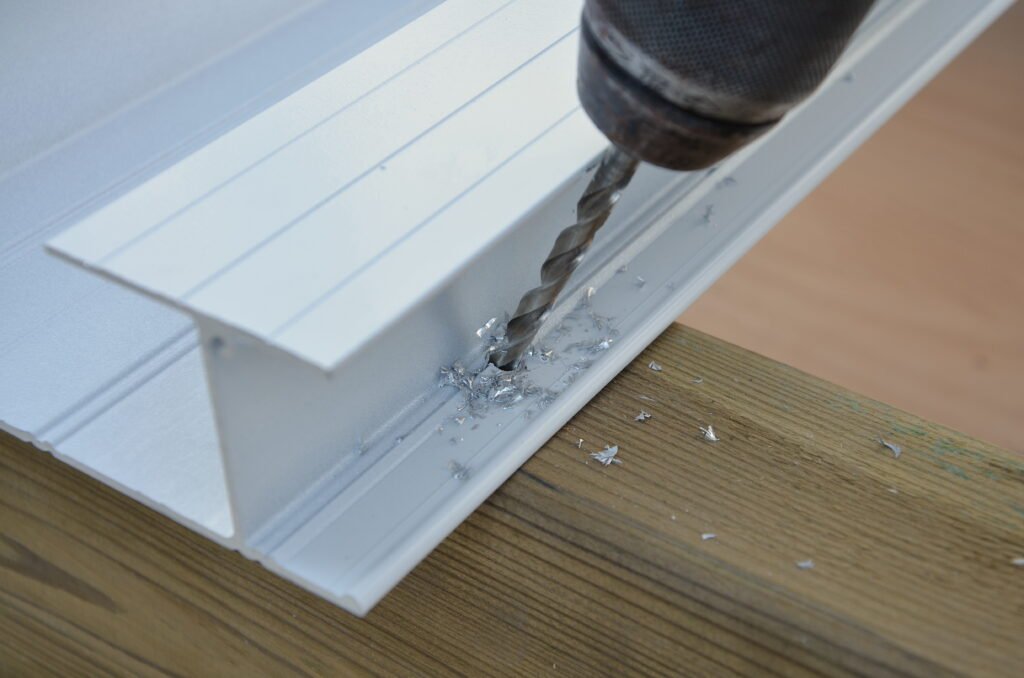
All you have to do is drill the MetaDeck above the joist. A bulge is provided for this purpose, "block" the drill bit and drill straight through.

A simple 6 mm stainless steel wood screws diameter is more than enough

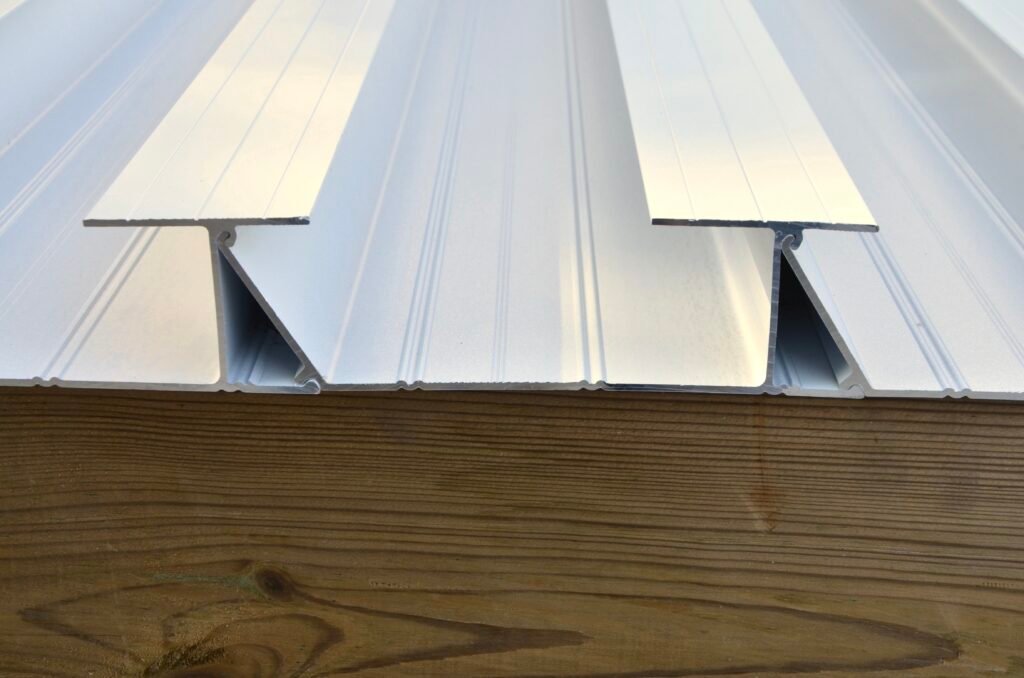
Here are the 2-3 MetaDeck profiles assembled and fixed to the supporting structure.
Implementation Metadeck profiles: fastening the profiles in the running section
This is obviously the simplest part.
Simply assemble the profiles one after the other and screw them to each joist.
Beware of clip them tightly each time, don't forget any screws, and don't leave any dirt, screws or wedges underneath them If you make a mistake and want to go back, you'll have to unscrew all the previous profiles.
Also, take care not to scratch or damage the underside of the profiles, as this is visible from below.
You have to pay attention to the flatness of the surface (joisting) to avoid the risk of deforming the profiles, which would make interlocking impossible.
Place a board on your structure to work comfortably and safely. Wear your PPE Knee pads, goggles, gloves and helmet.
It is no need to cut each profile individually as they are installed. Let's assume that the profiles "protrude" 30 cm from the structure. Leave them as they are and at the end of the installation, you can cut all the profiles in one go using a plunge saw and a rail. The cut will be smoother, cleaner and more precise.
