Installing Metadeck profiles: fixing the start and end profiles
Installation of Metadeck profiles : securing the starter profile
Remember: the Metadeck profile is only screwed to the support in the horizontal area at the foot of the vertical wall. The screw is fastened to the stop against the recess provided for this purpose.

To make screwing easier, we recommend self-drilling screws with hexagonal heads, using a screwdriver fitted with a suitable socket. A stainless steel screw is recommended.
In the case of a wooden structure or a closed steel structure (tube), the tip of the screw will be hidden. In the case of an open steel structure (angle iron, etc.), the tip of the screw could be visible, which could be unsightly. In these situations, riveting from below is an option. In our example, let's consider starting from the left-hand side of the terrace or balcony.
So we always start by screwing on the first profile with the sloping part on the left and the vertical wall on the right.
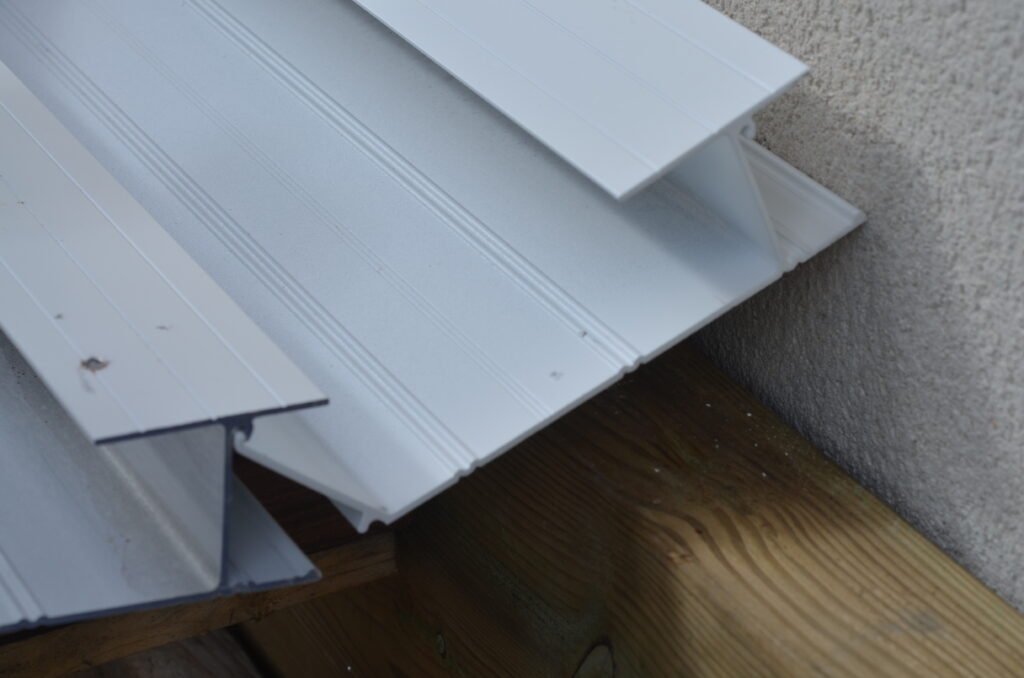
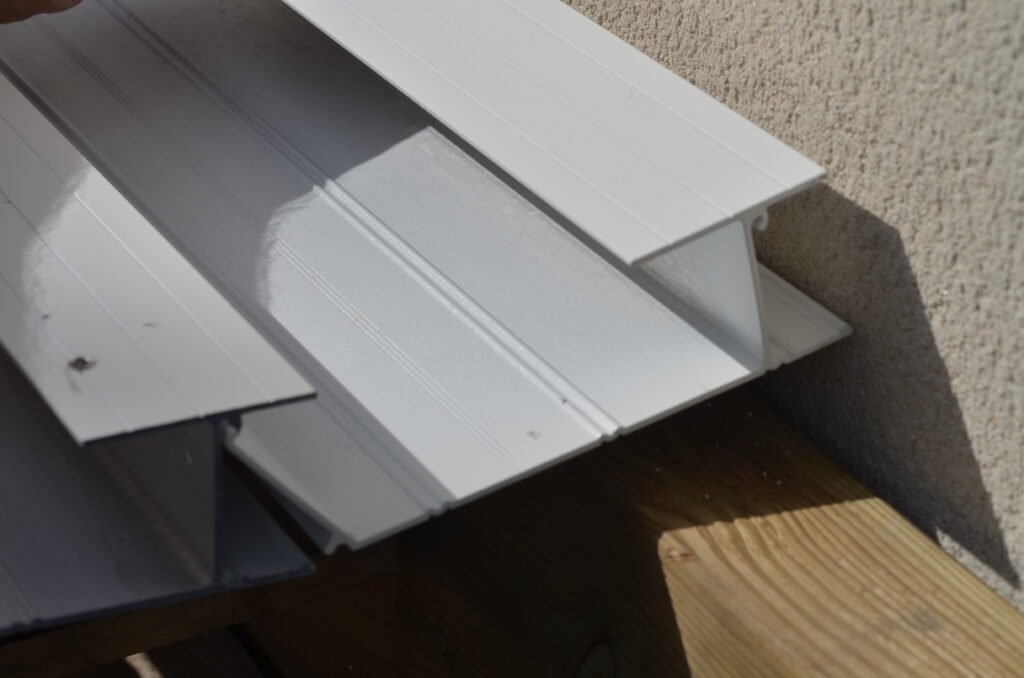
The oblique part of the next profile will fit into the "clamp" at the top of the vertical wall of the previous profile, and so on.
Repeat: starting from the left, the first profile will therefore be positioned with the oblique wall on the left and the vertical wall on the right, ready to receive the next profile.
Installation can be improved by calculating the number of profiles required according to the length of the balcony or terrace.
Simply divide the length by 15 cm to determine the number of profiles required. Of course, barring a miracle, you'll never end up with a whole number of profiles. To fit the dimensions of the terrace as closely as possible, ensuring that the final straight section of the last profile is as close as possible to the right-hand edge of the balcony, you can "trim" (cut back lengthways) the starting profile. This also has the advantage of reducing the length of deck board that will be cantilevered on either side of the deck. The other advantage is that it simplifies the watertight joint with the left-hand edge of the deck, whether this is a wall or the edge falls "into the void". Be careful when making this calculation: the last profile on the right must be clipped in "at an angle"; you therefore need to leave a gap of around 2 cm between this last profile and any wall on the right, to allow the last profile to be fitted.
Installation of Metadeck profiles : securing the end profile
The end profile is installed in exactly the same way as the profiles in the running section.
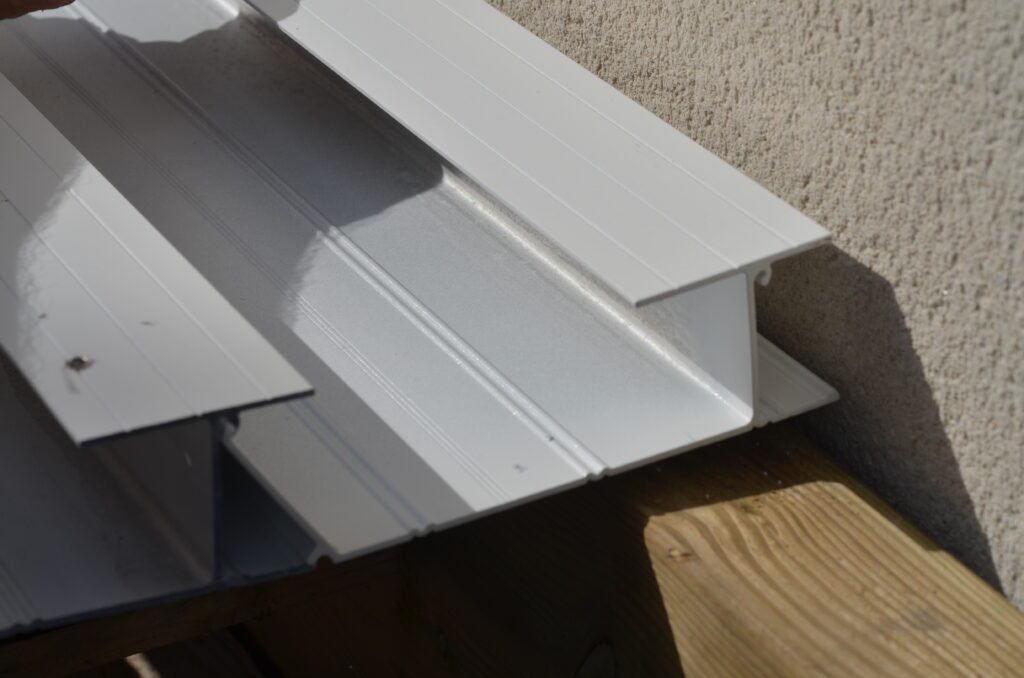
It is important to bear in mind that the last profile on the right has to be clipped in at an angle, so you need to leave a gap of around 2 cm (with any wall or joist on the right) to allow this last profile to be fitted.


Insufficient space between the Metadeck profile and the wall: the profile rubs and jams


The gap between the Metadeck profile and the wall is correct: we have one (or two) centimetres of clearance.

We may have a wall, joist or other obstacle on the right that prevents us from screwing in at an angle with a screwdriver.
In this case, simply make a small cut-out at the location of each screw.
on the upper part of the fin to allow a long screwing bit to be passed through, and at the same time pre-drill the profile before fitting it. Be careful not to drill too far to the left of the gutter.

We don't have access to the bottom fin that secures the profile.

Small cut-out on top and hole on bottom fin.

Installing the profile

Screwdriver with extension and long bit for Torx 25 screws, for stainless steel screws.
Result: a easy screwing
